How to Take Better Product Review Photos for Freebie Campaigns
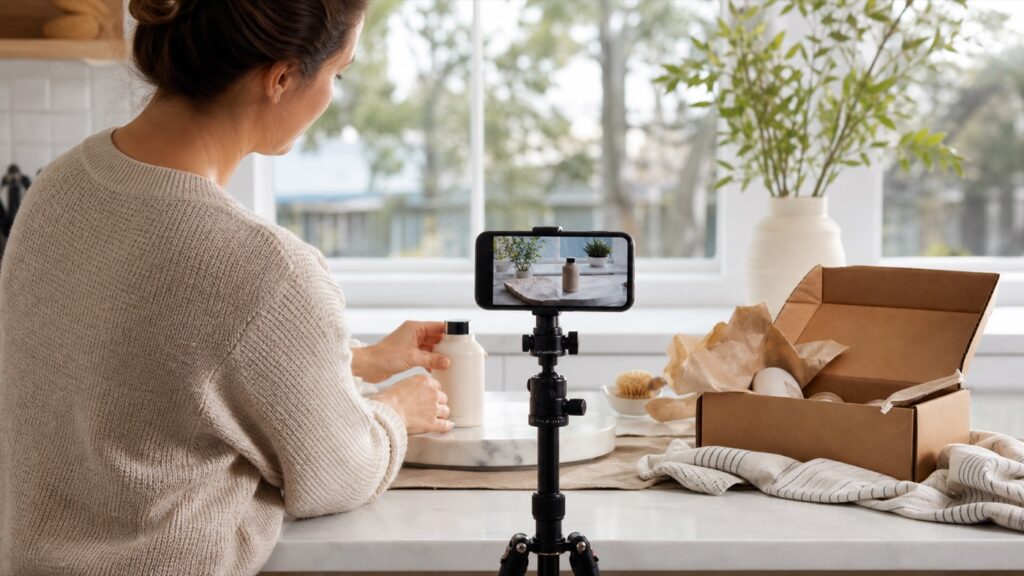
You do not need a professional camera to take useful product review photos. A clean background, natural light, and a few quick angles can make your photos look much better.
Why this helps
Good photos help show how the product arrived, how you used it, and what the experience was like. They can also make campaign tasks easier to complete.
What to do
Use window light
Natural light near a window usually looks better than harsh overhead light. Turn off yellow lights if they make the photo look strange.
Clear the background
Move mail, dishes, cords, and clutter out of the frame. A plain counter, table, towel, or poster board can work well.
Show the product in use
Take one photo of the product by itself and one photo showing how you used it. For food, show a serving idea. For beauty, show the texture or setup.
Take photos before opening everything
If packaging matters, take one photo before tearing it apart. Then take another after using the product.
Common mistakes to avoid
- Taking photos in a dark room
- Letting clutter distract from the product
- Only taking one blurry photo
Quick checklist
- Clean background
- Natural light
- Product visible
- One close-up
- One in-use photo
FreebieMom tip
The best freebie habits are the ones you can repeat without stress. Use the official page when you can, save the details that matter, and skip anything that feels unclear or not worth your time.
Helpful FreebieMom pages
FAQ
Do I need a complicated system?
No. A simple note, calendar reminder, email folder, or photo album is enough if you actually use it.
Should I keep every old confirmation forever?
No. Keep important proof while an offer, prize, or product test is active, then delete what you no longer need.
Keep going